Easy Cheesecake Fruit Roll Ups to Try Today

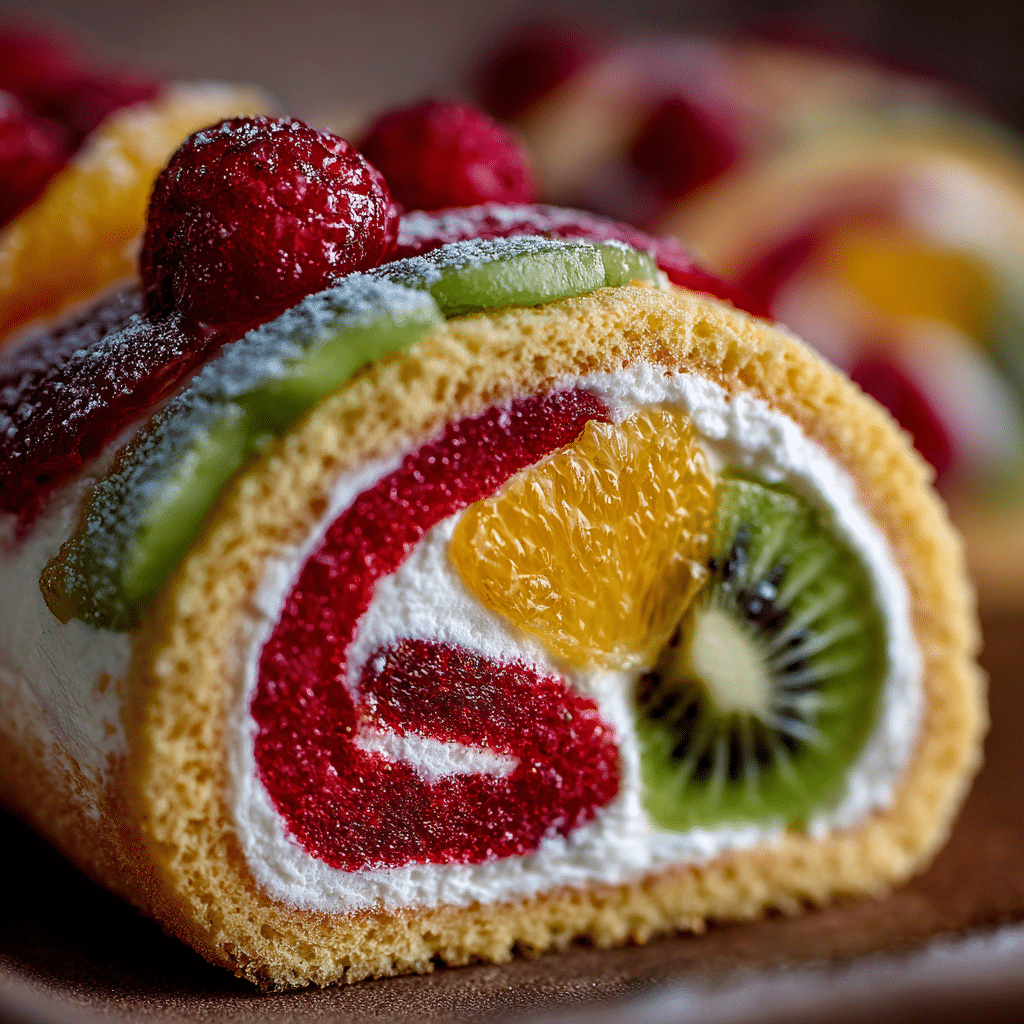
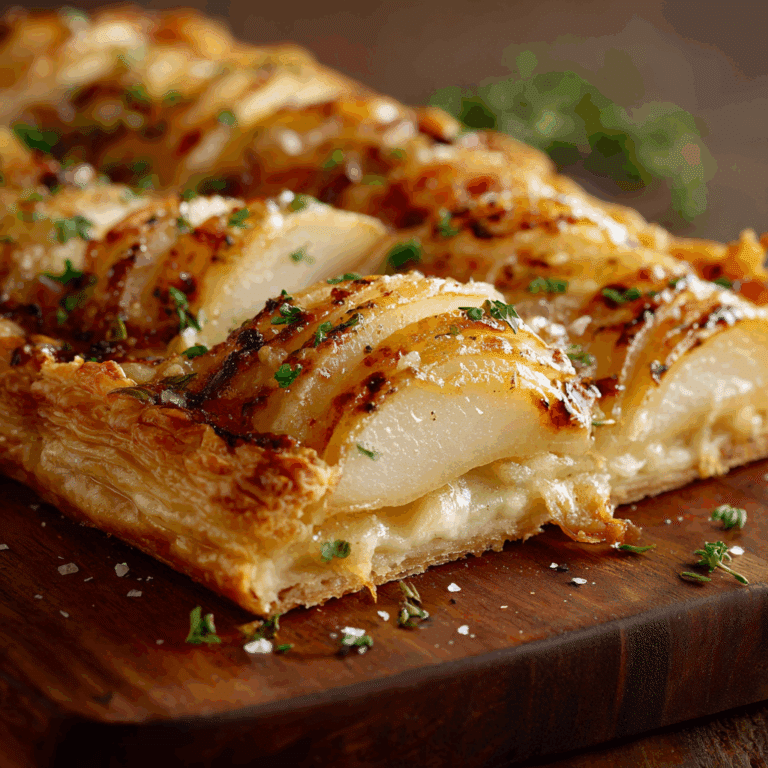
If you’re on the hunt for a snack that feels like a fun little treat but is surprisingly easy to make at home, then you’ve got to try our Cheesecake Fruit Roll Ups. This delightful recipe combines the creamy, dreamy texture of cheesecake with the vibrant, fresh flavors of fruit, rolled into a convenient, portable snack that’s perfect for dessert, lunchboxes, or anytime bites. It’s a fantastic way to enjoy indulgence without the fuss, and trust me, these roll ups will have you reaching for seconds!
Why You’ll Love This Recipe
- Quick and Easy: Minimal prep time means you can whip these up fast without compromising flavor.
- Versatile Flavor Combos: Customize with your favorite fruits to suit your taste preferences or seasonal picks.
- Perfect for On-the-Go Snacking: Portable and mess-free, ideal for lunches, picnics, or a grab-and-go treat.
- Kid-Friendly: Fun to eat and healthy enough to sneak in some fruit without complaints.
- Balanced Sweetness: Creamy cheesecake sweetness with fresh fruit tang keeps every bite satisfying without being overpowering.
Ingredients You’ll Need
These Cheesecake Fruit Roll Ups require a handful of simple, fresh ingredients that come together beautifully to create a smooth texture and vibrant flavor. Each component plays an essential role in delivering that rich cheesecake taste balanced with the fun of fresh fruit.
- Cream Cheese: The creamy base providing richness and the signature cheesecake texture.
- Greek Yogurt: Adds tanginess and extra creaminess while keeping the roll ups light.
- Honey or Maple Syrup: Natural sweeteners that perfectly balance the tartness of the cream cheese and fruit.
- Mixed Fresh Fruit: Strawberries, blueberries, or mangoes — choose your favorites for vibrant color and juicy flavor.
- Vanilla Extract: Adds depth and warmth to the cheesecake filling.
- Whole Wheat Tortillas or Fruit Leather Sheets: The perfect wrap for rolling everything together neatly.
Variations for Cheesecake Fruit Roll Ups
One of the best parts of this recipe is how easy it is to adapt. Whether you want to switch up flavors, accommodate dietary needs or just try something new, these variations keep the fun going while staying delicious.
- Vegan Version: Use vegan cream cheese and coconut yogurt instead of dairy for a plant-based twist.
- Nut Butter Twist: Add a thin layer of almond or peanut butter before spreading the cheesecake mixture for added protein and flavor.
- Seasonal Fruits: Swap out fruits based on the season, like peaches in summer or apples with cinnamon in fall.
- Chocolate Drizzle: Drizzle melted dark chocolate on the rolled up treats for a decadent finish.
- Spiced Filling: Mix in a pinch of cinnamon or nutmeg for a warm, cozy flavor boost.

How to Make Cheesecake Fruit Roll Ups
Step 1: Prepare the Cheesecake Mixture
In a medium bowl, blend softened cream cheese with Greek yogurt, honey (or maple syrup), and vanilla extract until smooth and creamy. This mixture forms the luscious cheesecake base of the roll ups.
Step 2: Prep the Fruit
Wash and slice your chosen fresh fruit into thin pieces or small chunks. This makes them easier to layer inside your roll ups and ensures every bite is packed with fruity goodness.
Step 3: Spread the Mixture
Lay out your tortilla or fruit leather sheet flat. Using a spatula or knife, evenly spread a generous layer of the cheesecake mixture, covering the entire surface but leaving a small border around the edges for easy rolling.
Step 4: Add the Fruit
Scatter the prepared fruit evenly over the cheesecake layer, making sure the fruit is spread out to avoid lumps when rolling.
Step 5: Roll Them Up
Starting at one end, tightly roll the tortilla or leather sheet, tucking the filling in as you go, until you have a neat cylinder of cheesecake and fruit goodness.
Step 6: Slice and Serve
Use a sharp knife to slice the roll into bite-sized pinwheels, perfect for serving as snacks or dessert.
Pro Tips for Making Cheesecake Fruit Roll Ups
- Room Temperature Ingredients: Soften cream cheese and yogurt to avoid lumps for a smoother spread.
- Dry Fruit Thoroughly: Pat fruit dry to prevent soggy roll ups and maintain perfect texture.
- Use a Sharp Knife: Clean cuts keep the roll ups looking neat and easier to eat.
- Don’t Overfill: Too much filling can cause the roll ups to break or become difficult to roll.
- Chill Before Cutting: Refrigerate for 15 minutes after rolling to set the shape and make slicing easier.
How to Serve Cheesecake Fruit Roll Ups
Garnishes
Sprinkle with finely chopped nuts like pistachios or almonds for crunch, or dust lightly with powdered sugar for extra sweetness and an elegant look.
Side Dishes
Pair with a simple mixed green salad for a balanced meal or alongside a refreshing fruit-infused iced tea, enhancing the fresh fruit flavors.
Creative Ways to Present
Serve these on a colorful platter with edible flowers, or stack the roll ups vertically in a jar for an eye-catching party snack idea everyone will love.
Make Ahead and Storage
Storing Leftovers
Keep leftover Cheesecake Fruit Roll Ups tightly wrapped in plastic wrap or in an airtight container in the fridge for up to 3 days to maintain freshness and texture.
Freezing
For longer storage, place wrapped roll ups in a freezer-safe container and freeze for up to 1 month. Thaw in the refrigerator before serving for the best taste.
Reheating
These roll ups are best served cold or room temperature, but if you prefer to warm slightly, pop them in a microwave for 10-15 seconds—just enough to take the chill off without melting the filling.
FAQs
Can I use fruit jam instead of fresh fruit?
While fresh fruit offers the best texture and flavor balance, thinly spreading a low-sugar fruit jam inside can work as a quick substitute for Cheesecake Fruit Roll Ups.
Are these roll ups gluten-free?
They can be! Simply swap regular tortillas for gluten-free wraps or use gluten-free fruit leather sheets to keep these treats safe for gluten-free diets.
How long do Cheesecake Fruit Roll Ups last in the fridge?
Stored properly in an airtight container, they stay fresh and delicious for up to 3 days in the refrigerator.
Can I add other toppings like nuts or seeds inside the roll ups?
Absolutely! Adding chopped nuts or seeds inside gives a pleasant crunch and boosts nutrition without overpowering the creamy cheesecake flavor.
What’s the best fruit to use in these roll ups?
Soft fruits like strawberries, blueberries, mangoes, or peaches work beautifully, but feel free to experiment with your favorites for different tastes and textures.
Final Thoughts
Ready to add a fresh, fun twist to your snack time? These Cheesecake Fruit Roll Ups are a brilliant way to indulge your sweet tooth while sneaking in the goodness of real fruit with every bite. Whether you enjoy them as a quick afternoon treat or a charming dessert, they’re sure to become a new favorite in your kitchen. Give this recipe a try today and share the joy of this simple, colorful, and delicious snack with friends and family!
Related Posts
- Why Fried Strawberry Cheesecake Sandwiches Delight
- Which Homemade Peach Cobbler Recipe Is Best?
- Best Brownie Cookies Recipes to Satisfy Cravings
Cheesecake Fruit Roll Ups
Cheesecake Fruit Roll Ups are an easy-to-make, delicious snack combining creamy cheesecake filling with fresh, vibrant fruit, all rolled up into a portable treat perfect for dessert, lunchboxes, or anytime snacking. This versatile recipe allows customization with favorite fruits and offers variations for dietary preferences, making it a fun and healthy indulgence.
- Prep Time: 10 minutes
- Cook Time: 0 minutes
- Total Time: 10 minutes
- Yield: 4 roll ups, sliced into approximately 16 pinwheels 1x
- Category: Appetizers
- Method: No Bake
- Cuisine: American
- Diet: Gluten Free (use gluten-free wraps or fruit leather sheets)
Ingredients
Cheesecake Mixture
- 4 oz (115 g) cream cheese, softened
- 1/4 cup (60 g) Greek yogurt
- 2 tbsp honey or maple syrup
- 1 tsp vanilla extract
Fruit Filling
- 1 cup mixed fresh fruit (such as strawberries, blueberries, mangoes), washed and sliced
Wrap
- 4 whole wheat tortillas or fruit leather sheets
Instructions
- Prepare the Cheesecake Mixture: In a medium bowl, blend softened cream cheese with Greek yogurt, honey or maple syrup, and vanilla extract until smooth and creamy. This mixture forms the luscious cheesecake base of the roll ups.
- Prep the Fruit: Wash and slice your chosen fresh fruit into thin pieces or small chunks to make layering inside your roll ups easier and ensure every bite is packed with fruity goodness.
- Spread the Mixture: Lay out your tortilla or fruit leather sheet flat. Using a spatula or knife, evenly spread a generous layer of the cheesecake mixture, covering the entire surface but leaving a small border around the edges for easy rolling.
- Add the Fruit: Scatter the prepared fruit evenly over the cheesecake layer, making sure the fruit is spread out to avoid lumps when rolling.
- Roll Them Up: Starting at one end, tightly roll the tortilla or leather sheet, tucking the filling in as you go until you have a neat cylinder of cheesecake and fruit goodness.
- Slice and Serve: Use a sharp knife to slice the roll into bite-sized pinwheels, perfect for serving as snacks or dessert.
Notes
- Use room temperature cream cheese and Greek yogurt to ensure a smooth spread without lumps.
- Pat fruit dry after washing to prevent soggy roll ups and maintain perfect texture.
- Use a sharp knife for clean cuts to keep roll ups looking neat and easy to eat.
- Don’t overfill the tortillas or fruit leather sheets to avoid breakage or difficulty rolling.
- Chill the rolled up snacks in the refrigerator for 15 minutes before slicing to help set their shape.
Nutrition
- Serving Size: 1 roll up (approx. 4 pinwheels)
- Calories: 150
- Sugar: 10g
- Sodium: 90mg
- Fat: 7g
- Saturated Fat: 4g
- Unsaturated Fat: 2g
- Trans Fat: 0g
- Carbohydrates: 18g
- Fiber: 2g
- Protein: 5g
- Cholesterol: 25mg
Keywords: cheesecake, fruit roll ups, snack, no bake dessert, healthy snack, portable snack, gluten-free option, kid-friendly


