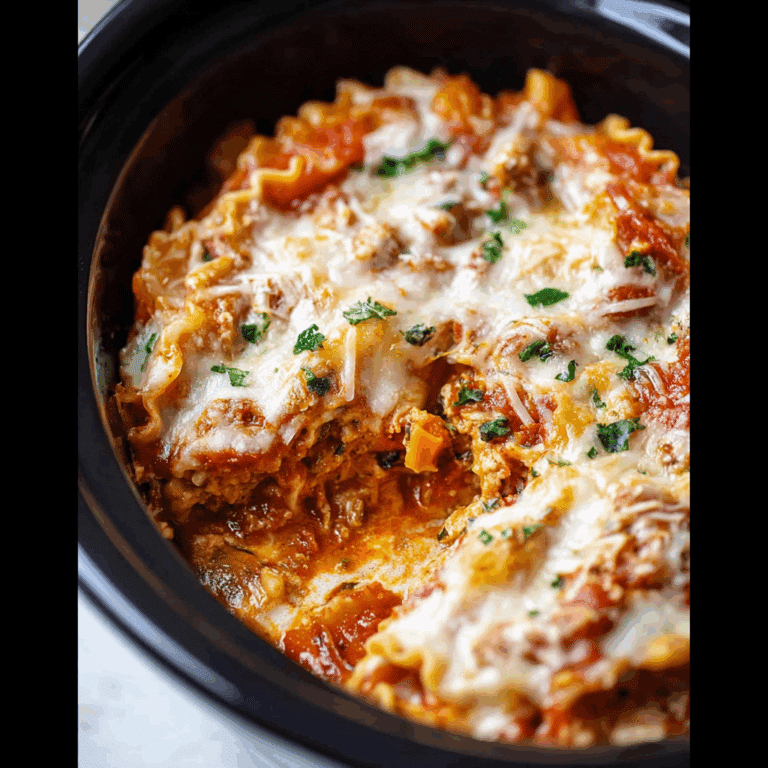
Crispy Japanese Katsu Bowls

If you’ve ever tried Crispy Japanese Katsu Bowls, you know exactly why they’ve captured the hearts (and taste buds) of food lovers worldwide. This dish combines a satisfyingly crunchy breaded cutlet, usually pork or chicken, with fluffy rice and a rich, savory sauce, creating layers of flavor and texture that are simply unforgettable. Whether it’s the golden crust, the juicy interior, or the harmony of every ingredient coming together in a bowl, Crispy Japanese Katsu Bowls are a must-try for anyone eager to enjoy a delicious, comforting, and highly addictive meal.
Why You’ll Love This Recipe
- Crunchy Perfection: The panko breadcrumb coating fries up to an irresistible golden crisp that adds a satisfying crunch to every bite.
- Flavorful Harmony: Tender meat paired with a tangy, slightly sweet katsu sauce delivers a flavor combo that keeps you coming back for more.
- Simple But Filling: Combining crispy cutlet, fluffy rice, and fresh garnish makes this a well-rounded, hearty meal in a bowl.
- Perfectly Versatile: This recipe works wonderfully with both chicken and pork, tailor it to your personal taste or dietary preference.
- Comfort Food with a Twist: It’s a delightful mix of classic comfort food elements with Japanese culinary flair, making it unique yet familiar.
Ingredients You’ll Need
To create Crispy Japanese Katsu Bowls, all you need are a handful of simple ingredients that work together beautifully to deliver crisp texture, juicy meat, bright colors, and deep flavor. Each component helps build the perfect balance of crunch, tenderness, and tangy sweetness.
- Pork or Chicken Cutlets: Thin, tender slices act as the centerpiece of the dish, perfect for achieving a juicy interior when fried.
- Panko Breadcrumbs: These Japanese-style breadcrumbs are lighter and crunchier than regular ones, creating that signature crispy crust.
- Eggs: Used to help the breadcrumbs stick firmly to the meat, ensuring the coating stays intact during frying.
- Flour: A light dusting helps the egg adhere better to the meat while adding a thin protective layer for even frying.
- Katsu Sauce: This tangy, slightly sweet brown sauce boosts the flavor complexity and ties all ingredients together beautifully.
- Steamed Rice: Fluffy short-grain rice provides the perfect neutral base that absorbs the sauce and balances the crispy cutlet.
- Optional Garnishes: Pickled vegetables, shredded cabbage, and chopped green onions add fresh crunch, color, and brightness.
Variations for Crispy Japanese Katsu Bowls
Feel free to get creative with this recipe! Crispy Japanese Katsu Bowls are incredibly adaptable, making it simple to switch up ingredients or adjust according to dietary needs and personal flavor preferences.
- Chicken Katsu: Replace pork with chicken breast or thigh for a leaner, equally delicious option.
- Tofu Katsu: For a vegetarian twist, use firm tofu slices coated and fried just like the meat varieties.
- Spicy Kick: Add some chili powder to the breadcrumb mixture or drizzle spicy mayo along with the katsu sauce.
- Gluten-Free: Swap regular flour and breadcrumbs for gluten-free alternatives without sacrificing crispiness.
- Different Sauces: Experiment with teriyaki, curry sauce, or ponzu for unique flavor profiles.

How to Make Crispy Japanese Katsu Bowls
Step 1: Prepare the Meat
Trim excess fat or tendons from your pork or chicken cutlets, then gently pound them to an even thickness to ensure uniform cooking.
Step 2: Coat the Cutlets
Start by lightly dusting each cutlet with flour, then dip in beaten eggs, and finally coat evenly with a generous layer of panko breadcrumbs.
Step 3: Fry the Cutlets
Heat oil in a deep skillet to around 350°F (175°C) and carefully fry each cutlet until golden brown and crispy, about 3-4 minutes per side.
Step 4: Drain and Slice
Remove the fried cutlets and drain on paper towels to eliminate excess oil. Slice them into bite-sized strips perfect for topping rice bowls.
Step 5: Assemble Your Bowl
Place a warm serving of steamed rice into your bowl, lay the sliced katsu on top, drizzle with generous amounts of katsu sauce, and add your favorite garnishes.
Pro Tips for Making Crispy Japanese Katsu Bowls
- Even Thickness: Pound meat to an even thickness for consistent cooking and perfect juiciness.
- Use Cold Oil: Starting with slightly cooler oil helps the breading adhere better and fry evenly.
- Don’t Crowd the Pan: Fry in batches to maintain oil temperature and ensure crispy crusts.
- Rest Before Slicing: Let the cooked katsu rest a few minutes for juicier results when cutting.
- Fresh Panko: Use fresh panko breadcrumbs for maximum crunch and light texture.
How to Serve Crispy Japanese Katsu Bowls
Garnishes
Fresh shredded cabbage or thinly sliced cucumbers give a crunchy contrast, while microgreens or chopped scallions add a pop of color and fresh aroma to each bowl.
Side Dishes
Classic sides like miso soup, pickled radishes, or a simple seaweed salad perfectly complement the crispy and savory notes of the katsu bowls, rounding out your meal with traditional Japanese touches.
Creative Ways to Present
Serve the katsu strips fanned over the rice with a drizzle of katsu sauce zigzagged artistically across the top, and sprinkle toasted sesame seeds for added texture and visual appeal.
Make Ahead and Storage
Storing Leftovers
Store leftover cutlets and rice separately in airtight containers in the refrigerator for up to 2 days to preserve crispiness and freshness.
Freezing
Wrap cooled katsu cutlets tightly in plastic wrap and freeze them for up to 1 month; rice can be frozen too but may lose some texture upon thawing.
Reheating
Reheat cutlets in a hot oven or air fryer to bring back the crunch, and warm rice gently on the stovetop or microwave, adding a splash of water to retain moisture.
FAQs
What type of meat is best for crispy Japanese katsu bowls?
Pork loin or tender chicken breast are traditional and ideal due to their tender texture and flavor, but other lean meats or tofu can also work well.
Can I bake the katsu instead of frying it?
Yes, baking at a high temperature can yield a crispy texture with less oil, but deep frying typically produces a richer, crunchier crust.
What can I use if I don’t have panko breadcrumbs?
Regular breadcrumbs or crushed cornflakes can be substituted, but panko offers a lighter, airier crunch that’s hard to replicate.
Is katsu sauce spicy?
Traditional katsu sauce is tangy and slightly sweet, with little to no heat, but you can add chili or hot sauce to spice things up.
How do I make the rice stay fluffy under the crispy cutlet?
Use short-grain Japanese rice and fluff it with a fork just before serving; keeping rice warm and separate from wet ingredients helps maintain its texture.
Final Thoughts
Crispy Japanese Katsu Bowls are a joy to make and absolutely delightful to eat, offering a wonderful balance of textures and flavors in every bite. Once you try this recipe, it might just become one of your favorite go-to meals, perfect for sharing with friends or savoring any time you crave a crispy, comforting bowl of deliciousness. Give it a shot — your taste buds will thank you!
Related Posts
PrintCrispy Japanese Katsu Bowls

Crispy Japanese Katsu Bowls feature golden, crunchy breaded pork or chicken cutlets served over fluffy steamed rice with a tangy, slightly sweet katsu sauce and fresh garnishes. This comforting and versatile dish balances textures and flavors perfectly, making it a beloved meal for any occasion.
- Prep Time: 15 minutes
- Cook Time: 15 minutes
- Total Time: 30 minutes
- Yield: 4 servings 1x
- Category: Main Course
- Method: Frying
- Cuisine: Japanese
- Diet: Gluten Free (with substitutions)
Ingredients
Main Ingredients
- 4 pork or chicken cutlets, thin and tender
- 1 cup panko breadcrumbs
- 2 large eggs, beaten
- ½ cup all-purpose flour (or gluten-free flour alternative)
- 2 cups steamed short-grain rice
- ½ cup katsu sauce
Optional Garnishes
- Shredded cabbage
- Pickled vegetables
- Chopped green onions
- Thinly sliced cucumbers
- Microgreens
Instructions
- Prepare the Meat: Trim excess fat or tendons from your pork or chicken cutlets, then gently pound them to an even thickness to ensure uniform cooking.
- Coat the Cutlets: Lightly dust each cutlet with flour, then dip in beaten eggs, and finally coat evenly with a generous layer of panko breadcrumbs.
- Fry the Cutlets: Heat oil in a deep skillet to around 350°F (175°C). Carefully fry each cutlet until golden brown and crispy, about 3-4 minutes per side.
- Drain and Slice: Remove the fried cutlets from oil and drain on paper towels to remove excess fat. Slice them into bite-sized strips perfect for topping rice bowls.
- Assemble Your Bowl: Place a warm serving of steamed rice into your bowl, lay the sliced katsu on top, drizzle generously with katsu sauce, and add your favorite garnishes such as shredded cabbage and green onions.
Notes
- Pound meat to an even thickness for consistent cooking and perfect juiciness.
- Start frying with slightly cooler oil to help breading adhere better and fry evenly.
- Fry cutlets in batches to maintain oil temperature and ensure crispy crusts.
- Let cooked katsu rest a few minutes before slicing for juicier results.
- Use fresh panko breadcrumbs for maximum crunch and light texture.
Nutrition
- Serving Size: 1 bowl
- Calories: 550
- Sugar: 6g
- Sodium: 700mg
- Fat: 25g
- Saturated Fat: 6g
- Unsaturated Fat: 15g
- Trans Fat: 0g
- Carbohydrates: 55g
- Fiber: 3g
- Protein: 35g
- Cholesterol: 110mg
Keywords: katsu bowl, Japanese katsu, crispy cutlet, panko, pork katsu, chicken katsu, comfort food, Japanese cuisine